CentOS安装activeMQ的小笔记
tar方式安装
1.下载
https://activemq.apache.org/download or http://archive.apache.org/dist/activemq/选择对应版本下载即可
这次安装的是apache-activemq-5.16.3
2.解压,启动,测试
tar -zxvf apache-activemq-5.16.3-bin.tar.gz
cd apache-activemq-5.16.3
cd bin
./activemq start

ps -ef | grep activemq
netstat -anp|grep 61616
netstat -anp|grep 8161 # 这是web使用端口
3.activemq 无法访问web页面问题
修改/usr/local/apache-activemq-5.16.3/conf/jetty.xml文件
将默认jetty.xml 127.0.0.1,改成您部署服务器的ip即可
<bean id="jettyPort" class="org.apache.activemq.web.WebConsolePort" init-method="start">
    <!-- the default port number for the web console -->
    <property name="host" value="192.168.31.101"/>
    <property name="port" value="8161"/>
</bean>
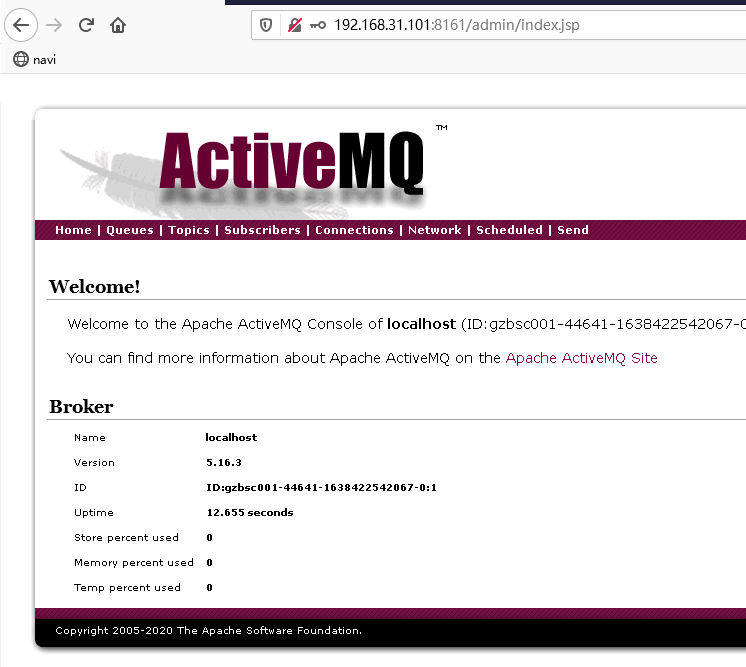
最后验证结果输入http://ip地址:8161/admin 用户名:admin 密码:admin
如我的:http://192.168.31.101:8161/admin/
4.修改web页面的默认账号密码
关闭activeMQ:/usr/local/apache-activemq-5.16.3/bin/activemq stop
修改/usr/local/apache-activemq-5.16.3/conf/jetty-realm.properties文件
[root@gzbsc001 conf]# cat jetty-realm.properties
## ---------------------------------------------------------------------------
## Licensed to the Apache Software Foundation (ASF) under one or more
## contributor license agreements.  See the NOTICE file distributed with
## this work for additional information regarding copyright ownership.
## The ASF licenses this file to You under the Apache License, Version 2.0
## (the "License"); you may not use this file except in compliance with
## the License.  You may obtain a copy of the License at
##
## http://www.apache.org/licenses/LICENSE-2.0
##
## Unless required by applicable law or agreed to in writing, software
## distributed under the License is distributed on an "AS IS" BASIS,
## WITHOUT WARRANTIES OR CONDITIONS OF ANY KIND, either express or implied.
## See the License for the specific language governing permissions and
## limitations under the License.
## ---------------------------------------------------------------------------

# Defines users that can access the web (console, demo, etc.)
# username: password [,rolename ...]
admin: admin, admin
将上面的admin密码修改成您的密码即可
再次开启activeMQ:/usr/local/apache-activemq-5.16.3/bin/activemq start
目录说明
bin----存放的是脚本文件
conf----存放的是基本配置文件
data----存放的是日志文件
docs----存放的是说明文档
examples----存放的是简单的实例
lib----存放的是activemq所需jar包
webapps----用于存放项目的目录
activemq-all-xxx.jar:客户端连接包
控制台简介
Queues:队列方式消息。
Topics:主题方式消息。
Subscribers:消息订阅监控查询。
Connections:查看链接数,分别可以查看xmpp、ssl、stomp、openwire、ws和网络链接。
Network:网络链接数监控。
Scheduled:不太清楚。
Send:发送消息数据
配置文件简介
登录管理
web登陆管理配置文件在 conf/jetty.xml 文件中

roles表示有管理员和用户的角色
authenticate表示权限,value为true时需要用户登录
web用户登录配置文件在 conf/jetty-realm.properties 文件中
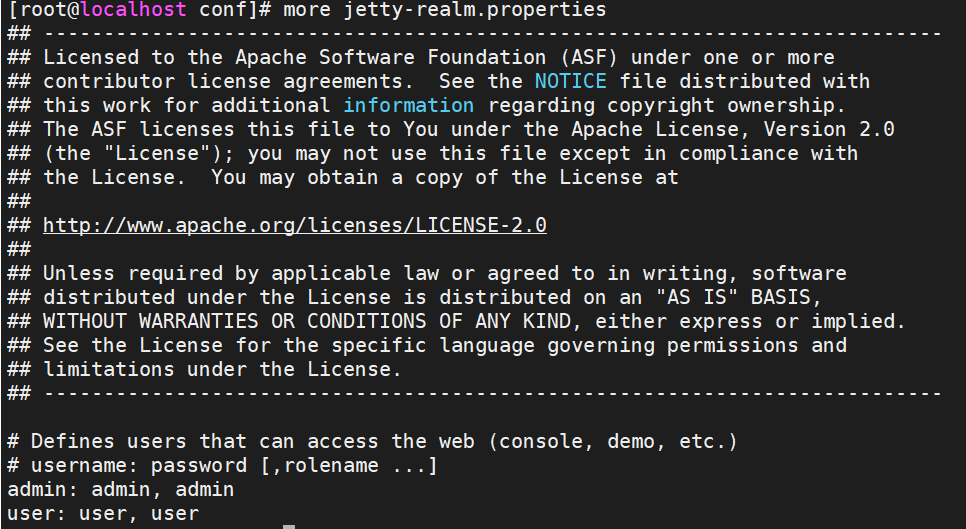
格式为: 账号名: 密码, 权限
端口号管理
端口号管理文件 conf/jetty.xml 目录中

8161即为activemq的web端口号
ActiveMQ连接服务端的方式
配置文件在conf/activemq.xml 中

mqtt账号认证管理
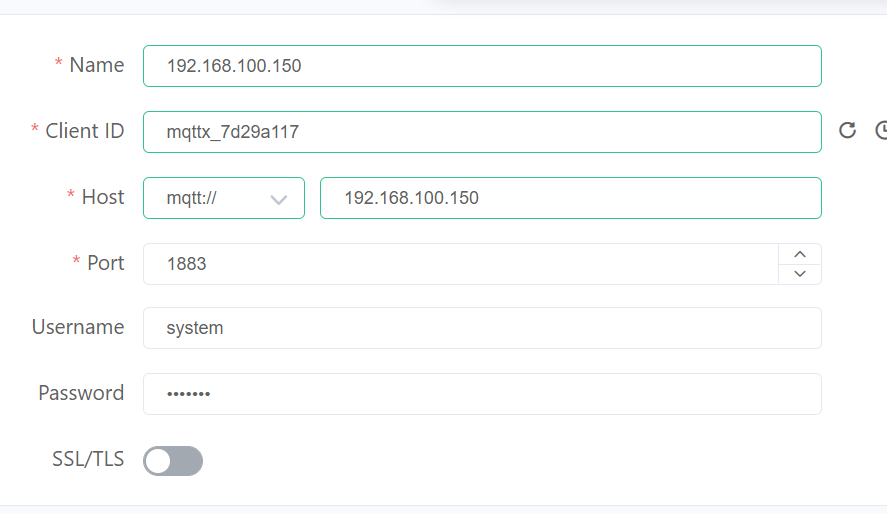
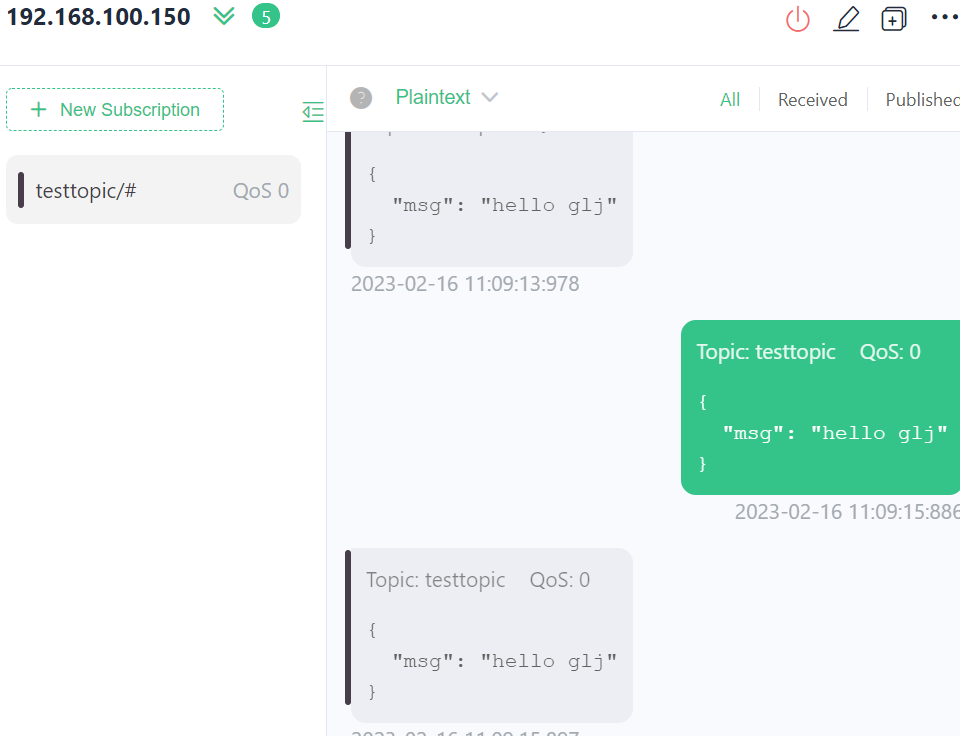
对MQTT客户端的安全配置,mqtt协议默认是对应1883端口,其安全认证的帐号在conf/credentials.properties文件进行配置
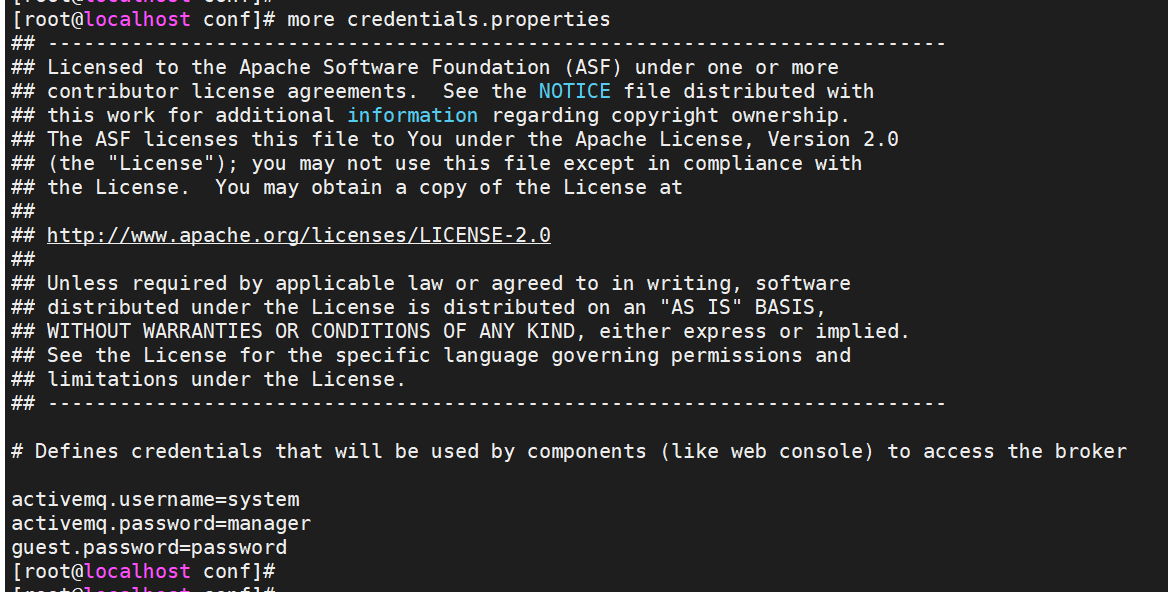
这是当mqtt客户端会话连接时用到,如tcp://ip:1883结合上面帐号才能与mqtt服务端建立链接。
持久化配置
持久化默认方式为 kahaDB ,文件在 conf/activemq.xml 中

Docker方式
1.搜索 ActiveMQ 镜像
docker search activemq
2.获取 ActiveMQ 镜像
docker pull webcenter/activemq:5.14.3
3.docker 启动 ActiveMQ 命令
docker run --name='activemq' -d \
-e 'ACTIVEMQ_ADMIN_LOGIN=admin' \
-e 'ACTIVEMQ_ADMIN_PASSWORD=admin' \
-e 'ACTIVEMQ_CONFIG_MINMEMORY=512' \
-e 'ACTIVEMQ_CONFIG_MAXMEMORY=1024' \
-v /data/activemq:/data \
-v /var/log/activemq:/var/log/activemq \
-p 8161:8161 \
-p 61616:61616 \
-p 61613:61613 \
webcenter/activemq:5.14.3