x86 or amd平台利用 qemu-user-static 实现 arm64 平台 docker 镜像的运行和构建
前言
因国产化趋势,新的信创环境CPU大部分使用ARM架构。因暂无arm环境,自己买 arm 平台的 CPU,这个成本着实吃不消,于是尝试 x86 平台运行 arm 平台的容器来降本增效。
关于 docker 版本
docker运行其他平台容器,需要使用--platform参数来指定平台docker 19.03.9及以上的版本才支持--platform参数- 默认没有开启
--platform参数,需要手动开启。
开启experimental 功能配置:
参考:https://199604.com/2865
查看是否开启 experimental 功能
--platform 参数需要 experimental 为 true,通过下面的命令可以验证是否开启:
docker info | grep -i 'experimental'
拉取一个 arm 平台的容器测试
docker pull --platform arm64 debian:stable-slim

#查看镜像使用的平台
docker inspect debian:stable-slim | grep -i 'architecture'
如果不加
--platform参数,默认拉取自己当前 CPU 平台的镜像如果本地有相同
tag的镜像,只是平台不同的情况下,需要注意区分tag,不然直接docker pull就会覆盖掉之前的镜像,之前的镜像tag会变为<none>
配置qemu-user-static依赖
注册可支持的架构解释器
docker run --rm \
--privileged \
multiarch/qemu-user-static:register \
--reset

# 执行成功后,会返回类似如下的结果来表明支持的架构解析器
Setting /usr/bin/qemu-alpha-static as binfmt interpreter for alpha
Setting /usr/bin/qemu-arm-static as binfmt interpreter for arm
Setting /usr/bin/qemu-armeb-static as binfmt interpreter for armeb
Setting /usr/bin/qemu-sparc-static as binfmt interpreter for sparc
Setting /usr/bin/qemu-sparc32plus-static as binfmt interpreter for sparc32plus
Setting /usr/bin/qemu-sparc64-static as binfmt interpreter for sparc64
Setting /usr/bin/qemu-ppc-static as binfmt interpreter for ppc
Setting /usr/bin/qemu-ppc64-static as binfmt interpreter for ppc64
Setting /usr/bin/qemu-ppc64le-static as binfmt interpreter for ppc64le
Setting /usr/bin/qemu-m68k-static as binfmt interpreter for m68k
Setting /usr/bin/qemu-mips-static as binfmt interpreter for mips
Setting /usr/bin/qemu-mipsel-static as binfmt interpreter for mipsel
Setting /usr/bin/qemu-mipsn32-static as binfmt interpreter for mipsn32
Setting /usr/bin/qemu-mipsn32el-static as binfmt interpreter for mipsn32el
Setting /usr/bin/qemu-mips64-static as binfmt interpreter for mips64
Setting /usr/bin/qemu-mips64el-static as binfmt interpreter for mips64el
Setting /usr/bin/qemu-sh4-static as binfmt interpreter for sh4
Setting /usr/bin/qemu-sh4eb-static as binfmt interpreter for sh4eb
Setting /usr/bin/qemu-s390x-static as binfmt interpreter for s390x
Setting /usr/bin/qemu-aarch64-static as binfmt interpreter for aarch64
Setting /usr/bin/qemu-aarch64_be-static as binfmt interpreter for aarch64_be
Setting /usr/bin/qemu-hppa-static as binfmt interpreter for hppa
Setting /usr/bin/qemu-riscv32-static as binfmt interpreter for riscv32
Setting /usr/bin/qemu-riscv64-static as binfmt interpreter for riscv64
Setting /usr/bin/qemu-xtensa-static as binfmt interpreter for xtensa
Setting /usr/bin/qemu-xtensaeb-static as binfmt interpreter for xtensaeb
Setting /usr/bin/qemu-microblaze-static as binfmt interpreter for microblaze
Setting /usr/bin/qemu-microblazeel-static as binfmt interpreter for microblazeel
Setting /usr/bin/qemu-or1k-static as binfmt interpreter for or1k
Setting /usr/bin/qemu-hexagon-static as binfmt interpreter for hexagon
不指定 CPU 平台,使用 register 来注册可支持的架构解析器
下载 qemu-aarch64-static
qemu-user-static下载地址:https://github.com/multiarch/qemu-user-static/releases
wget https://github.com/multiarch/qemu-user-static/releases/download/v7.2.0-1/qemu-aarch64-static

chmod +x qemu-aarch64-static
运行一个 arm 平台的容器
在没有 qemu-user-static 的帮助下,单靠 --platform 参数是无法启动非本机平台的镜像的,如下:
docker run --platform arm64 -t --rm debian:stable-slim uname -m

# 返回的报错如下:
# standard_init_linux.go:211: exec user process caused "exec format error"
需要启动容器时将 qemu-aarch64-static 带入到容器内
注意
qemu-aarch64-static二进制文件的路径,可以自己归纳到指定的路径,只需要带入到容器内的 /usr/bin 目录下就好了ll /usr/local/sbin/qemu-aarch64-static -rwxr-xr-x 1 root root 10402960 1月 17 2023 /usr/local/sbin/qemu-aarch64-static
docker run -it \
--rm \
--platform arm64 \
-v /usr/local/sbin/qemu-aarch64-static:/usr/bin/qemu-aarch64-static \
debian:stable-slim \
uname -m

# 返回结果
aarch64
同理,参试其他cpu架构平台也是一样下载
qemu-xxxx-static
构建 一个 arm64 镜像
- 准备一个
Dockerfile - 需要将
qemu-aarch64-static带入到容器内的/usr/bin目录下才可以实现构建 - 不然会返回
standard_init_linux.go:211: exec user process caused "no such file or directory"这样的报错
Dockerfile
# https://blog.csdn.net/qq_34718871/article/details/134218667
# docker build --platform arm64 -t reg-hub.gzeport.com/gzeport/jdk/debian-jdk11-arm:20240529 .
FROM debian:stable-slim

MAINTAINER guoliangjun<post@199604.com>
# 设置aarch64环境
COPY ./qemu-aarch64-static /usr/bin/qemu-aarch64-static

# Support Chinese
ENV TIME_ZONE="Asia/Shanghai" \
    LANG=zh_CN.UTF-8 \
    LANGUAGE=zh_CN.UTF-8

# 切换apt源为清华源,并安装vim ping telnet命令
RUN apt-get update && apt install -y apt-transport-https ca-certificates \
    && sed -i 's@deb.debian.org@mirrors.tuna.tsinghua.edu.cn@g' /etc/apt/sources.list.d/debian.sources \
    && apt-get clean  \
    && apt-get update  \
    && apt-get install -y iputils-ping fontconfig tzdata ttf-dejavu* curl net-tools \
    && cp /usr/share/zoneinfo/$TIME_ZONE /etc/localtime \
    && echo $TIME_ZONE > /etc/timezone \
    && apt-get remove tzdata -y \
    && addgroup --gid 2888 gzapps \
    && adduser --uid 2888 --gid 2888 --home /AppHome --disabled-password --gecos --no-create-home gzapps

# Install JDK11 注意是linux aarch64
ADD jdk-11.0.21_linux-aarch64_bin.tar.gz /usr/local/jdk
ENV JAVA_HOME=/usr/local/jdk/jdk-11.0.21
ENV PATH=$JAVA_HOME/bin:$PATH

WORKDIR /AppHome
USER gzapps
开始构建
docker build --platform arm64 -t reg-hub.gzeport.com/gzeport/jdk/debian-jdk11-arm:20240529 .
构建完成后
[root@localhost arm-x64]# docker inspect reg-hub.gzeport.com/gzeport/jdk/debian-jdk11-arm:20240529 | grep -i 'architecture'
        "Architecture": "arm64",
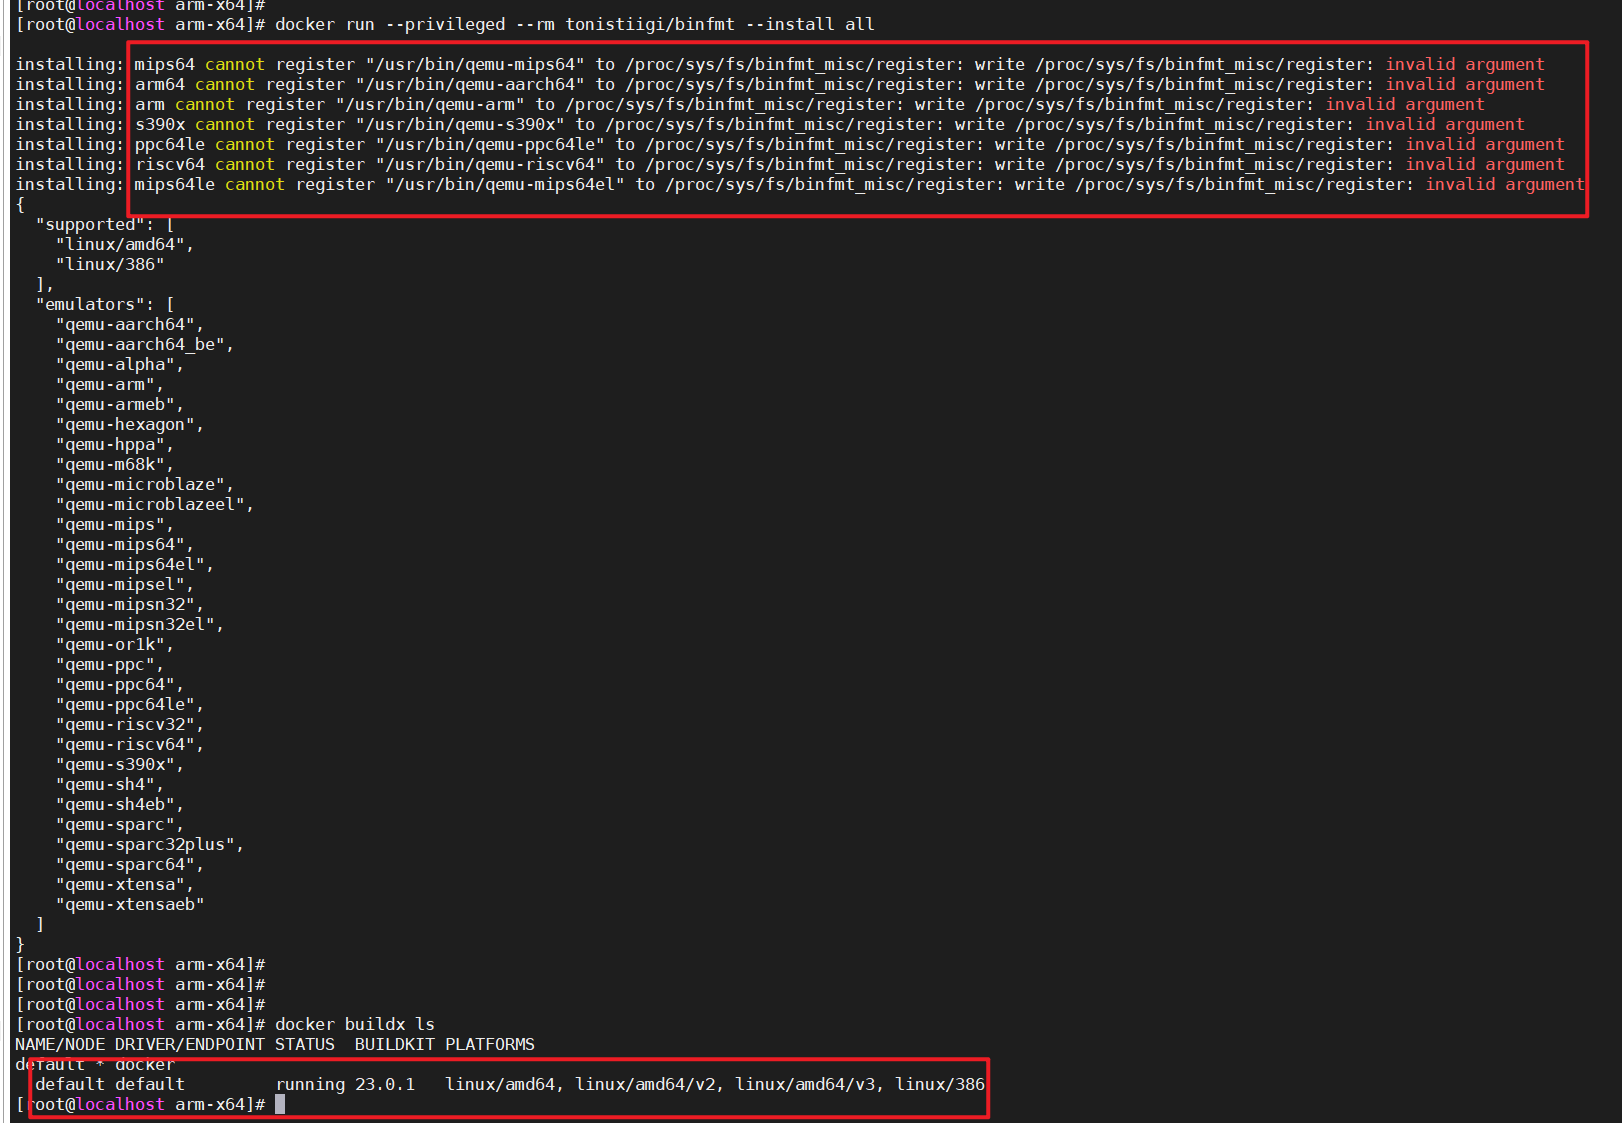
方式二:使用buildx在x86机器上面编译arm64架构的Docker镜像
因为 Centos 7 的内核太老,使用buildx暂时不支持,只做记录

参考:
1.https://blog.yasking.org/a/docker-multi-arch-with-buildx.html
2.https://www.cnblogs.com/jinanxiaolaohu/p/17409839.html
参考
1.https://www.cnblogs.com/chen2ha/p/17180287.html